Just a quick one on getting started leveraging bicep to deploy resources in Azure since it’s actually significantly easier than it sounds. Let’s get right to it…
Bicep is a declarative language used to deploy resources into Azure. At its core you have one (or more) file(s) with your bicep code and then something to take that and deploy it. I like to create a separate PowerShell file as the harness for my bicep – I can store parameters, string deployments together, etc.
This post is organized into the pre-requisites, a sample bicep file for deploying a Resource Group, the harness, and how to put the two together. I’ll wrap it up with a summary which includes information on where to go from here.
Pre-Requisites
- Visual Studio Code with both the PowerShell and Bicep extensions
- Azure Subscription that you own (or that you have permission to write to)
The Bicep File
Type the following into a file and save it with a .bicep extension.
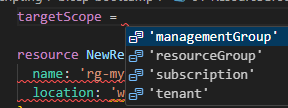
targetScope = 'subscription'

resource NewResourcGroup 'Microsoft.Resources/resourceGroups@2023-07-01' = {
  name: 'rg-myapplication'
  location: 'westus'
}
The first line sets the scope. Because we’re building a resource group, this is an item that must be targeted at the subscription scope. With the VS Code extension for bicep, as you start typing that first line you can see the various options available to you (this context sensitive help is quite useful when working with bicep).
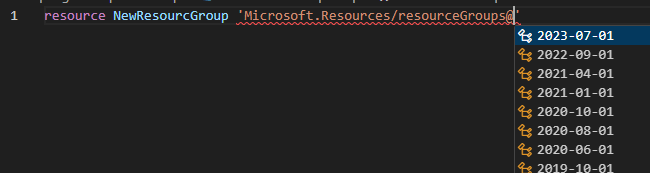
The next block of code defines the type of resource we want to build and the various parameters. If you don’t know the exact formatting for a resource type, the context sensitive help can again be useful here. Below you can see that I start typing “resourcegroup” and the context sensitive help provides the full value (you can press “tab” to select / complete the line).

The same context help will pop up when selecting the version of the resource to use. I tend to always pick the latest.
Then as you begin to finalize the first row you have the option for VS Code to prepopulate the resource with the minimum required properties for the resource in question:
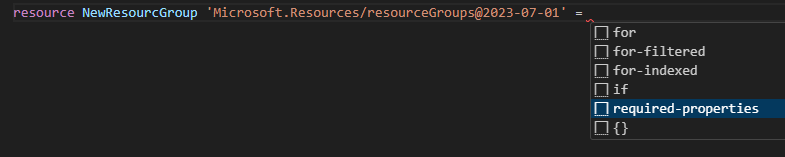
This can be helpful, especially when you begin browsing Microsoft’s documentation on the various resource types, some of which get pretty complex.
The Harness
I use a separate PowerShell file as the harness for bicep work. In this case, the harness file contains a single line (change 01-ResourceGroup.bicep to whatever you named your bicep file):
New-AzSubscriptionDeployment -Location 'westus' -TemplateFile '.\01-ResourceGroup.bicep'With the harness file saved in the same location as the bicep file above (and make sure your terminal window shows you in that same folder), running it will deploy your new resource group.
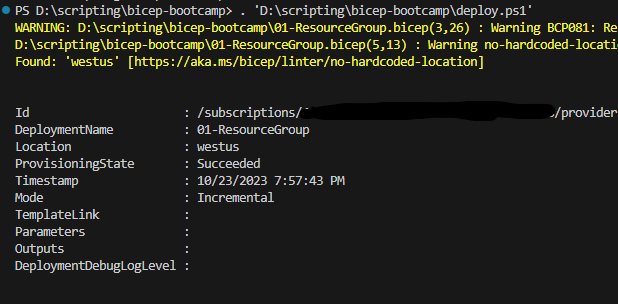
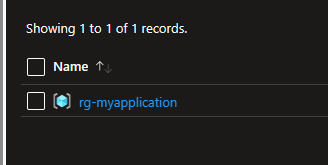
This shows a successful deployment, and it can be verified by looking at the Azure Portal for the resource group.
Where To Go From Here
The above is great for deploying a single resource group, but if you want to build virtual networks, VMs, load balancers, app services, etc. you’re going to need more information.
First place to go get more information is this overview from Microsoft on deploying resources in bicep. Pay careful attention to the “Deployment Scope” section. In the above, we targeted the subscription for the scope. If you target a resource group (which is a bit more common), your harness file should have the command New-AzResourceGroupDeployment instead of the New-AzSubscriptionDeployment used above.
Second is deciding what you want to build. Microsoft has a massive reference library for all of Azure’s resource types. You simply go down this list to find the resource you want to build and can then read through the required and optional parameters. Here’s just a sample from the Virtual Network resource:
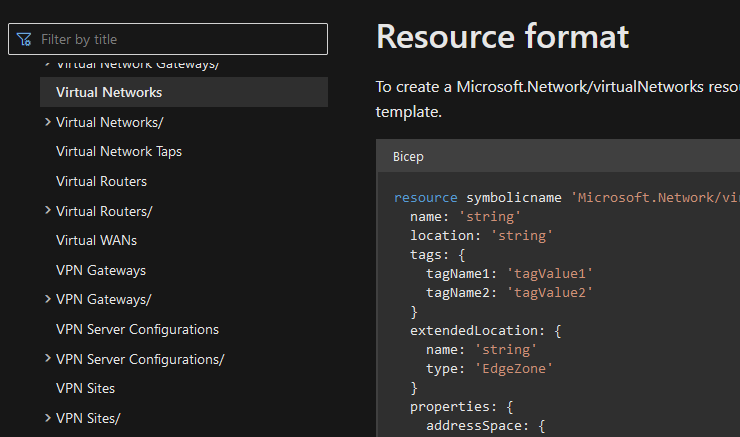
The code samples tend to display every possible parameter, which is why it’s important to look at the required parameters (or let VS Code give them to you).
Lastly, you can string together multiple resources into a single bicep file, reference properties of one resource in another, and even reference existing resources.
Looks difficult 🤷
The hardest part is always that first step it seems!